GM U-Body Minivans
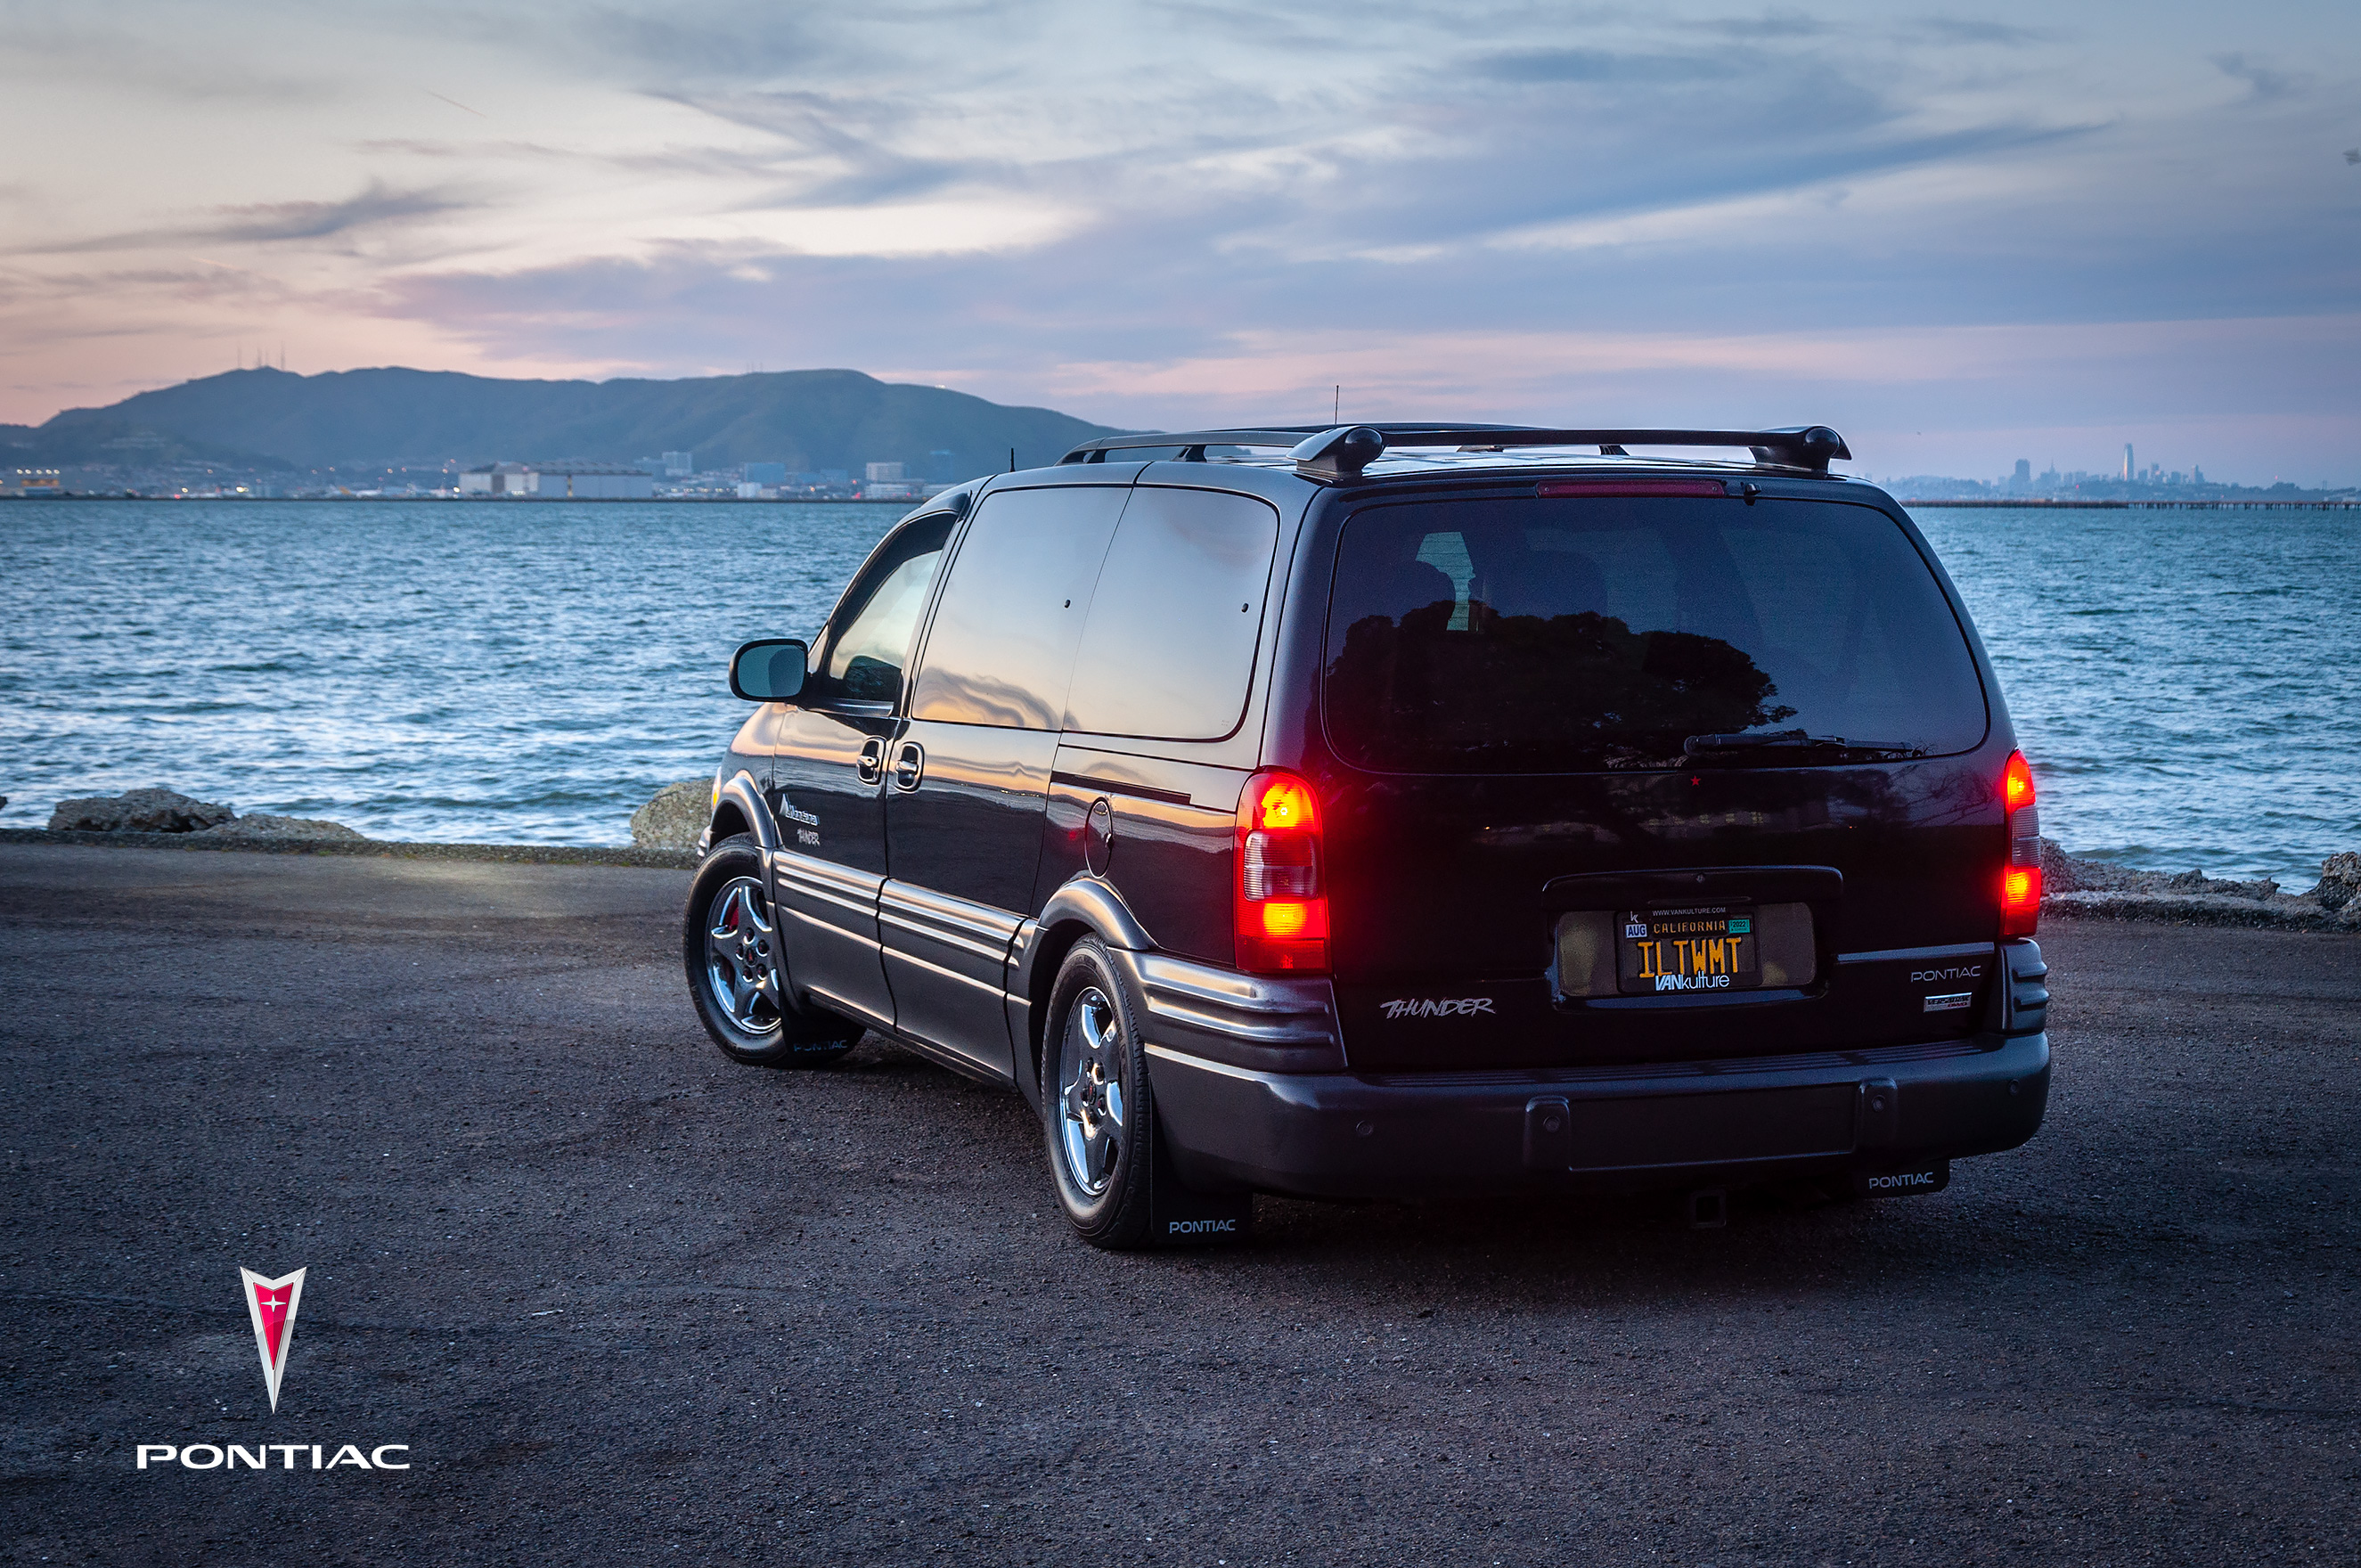
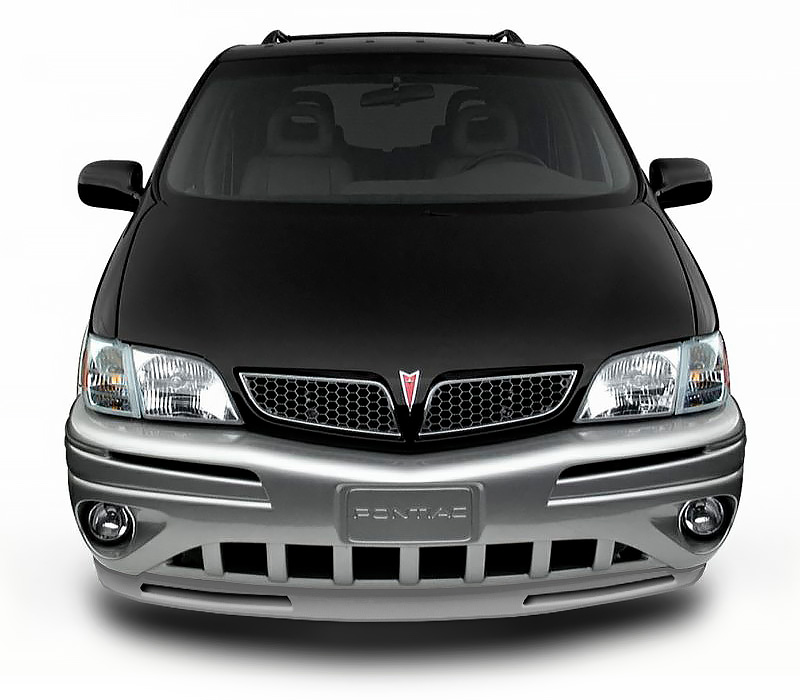
2003 AWD Pontiac Montana Thunder service and maintenance guide
Common issues resolved via text/photo/video; includes links to all required parts. Applies to 1997-2005 Chevrolet Venture, Oldsmobile Silhouette, Pontiac Trans Sport, Opel Sintra, Vauxhall Sintra, Pontiac Aztek, Buick Rendezvous.
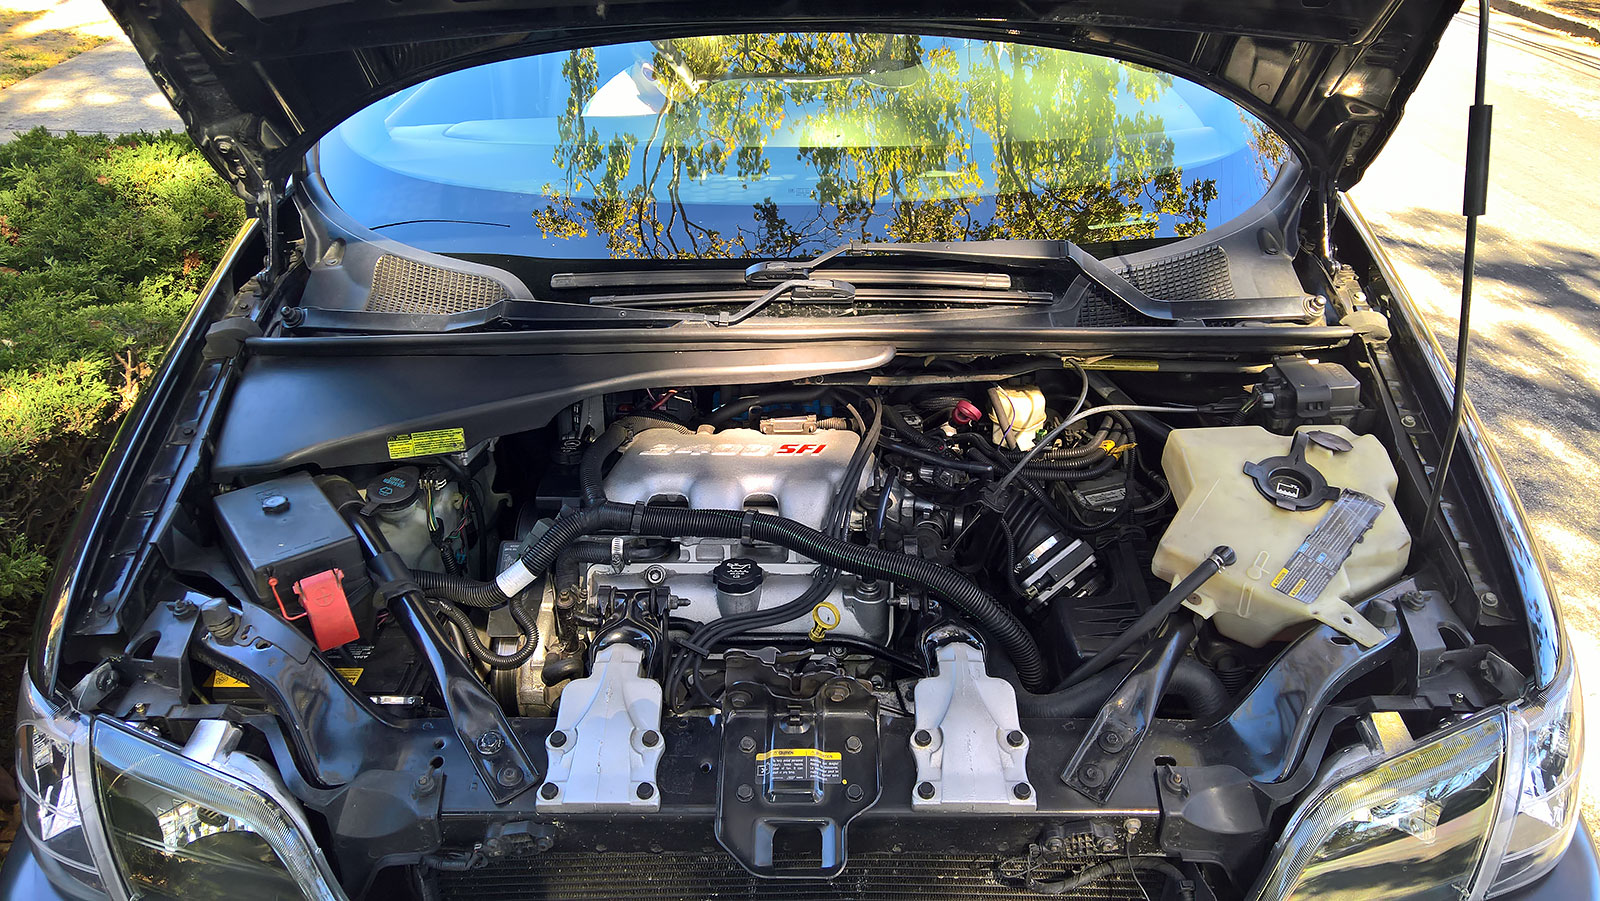
GM 3400 SFI engine rebuild
As you rebuild the engine and work out all the issues, be prepared to have the vehicle down for 1-2 weeks. Depending on environment and experience, job can also be accomplished in as little as a weekend.
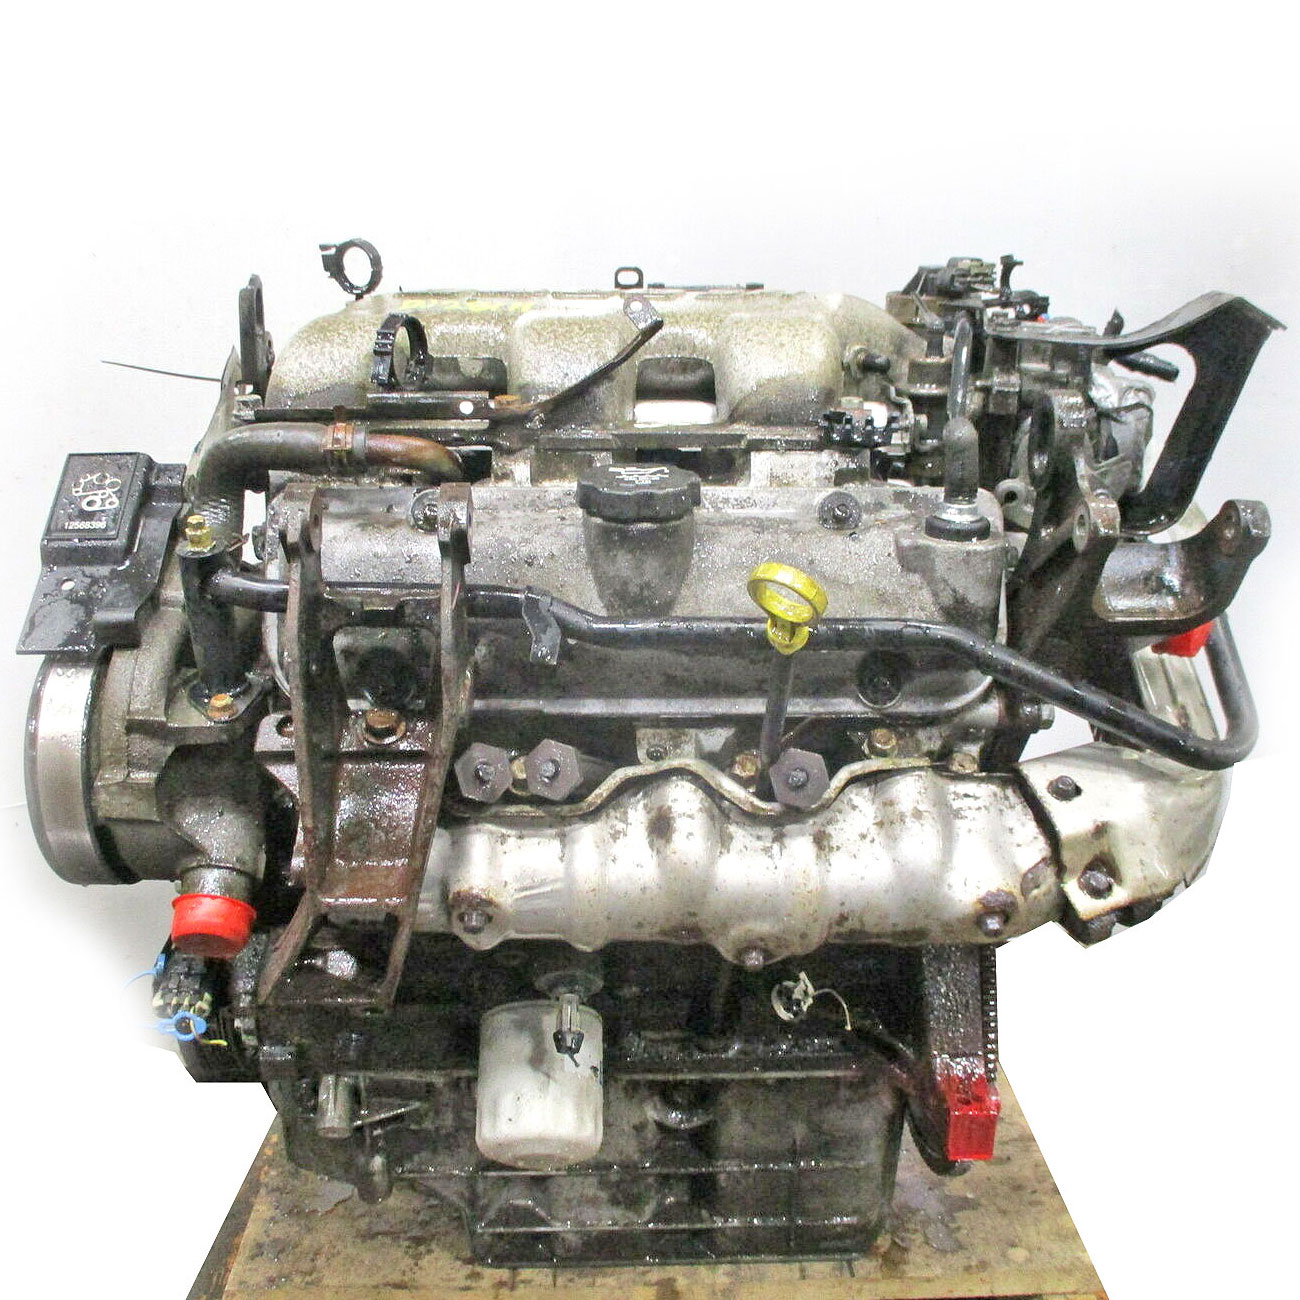
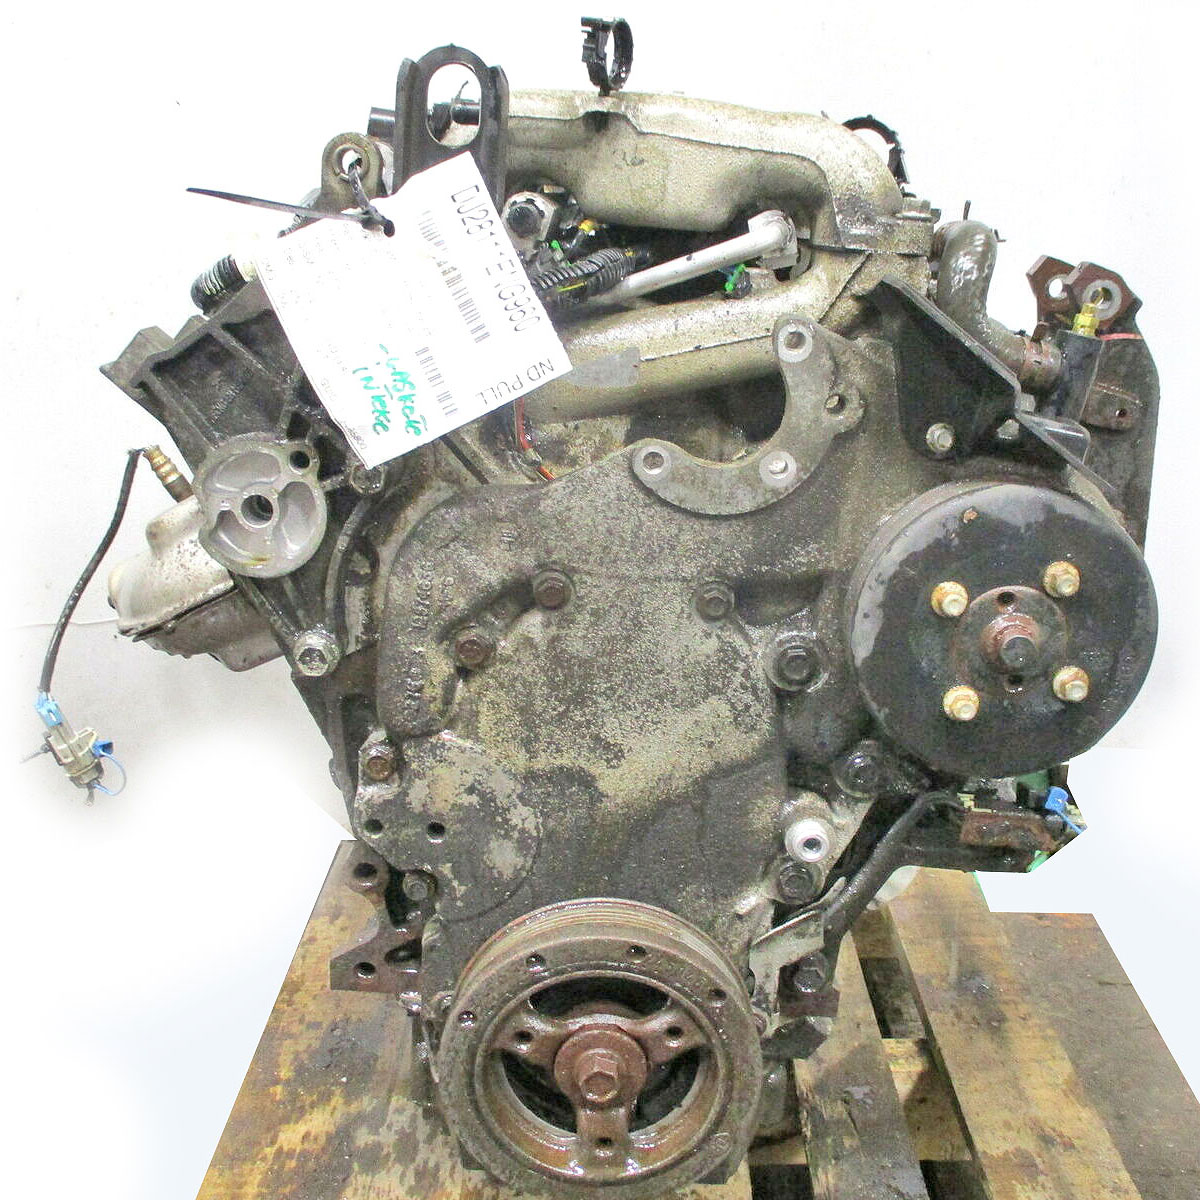
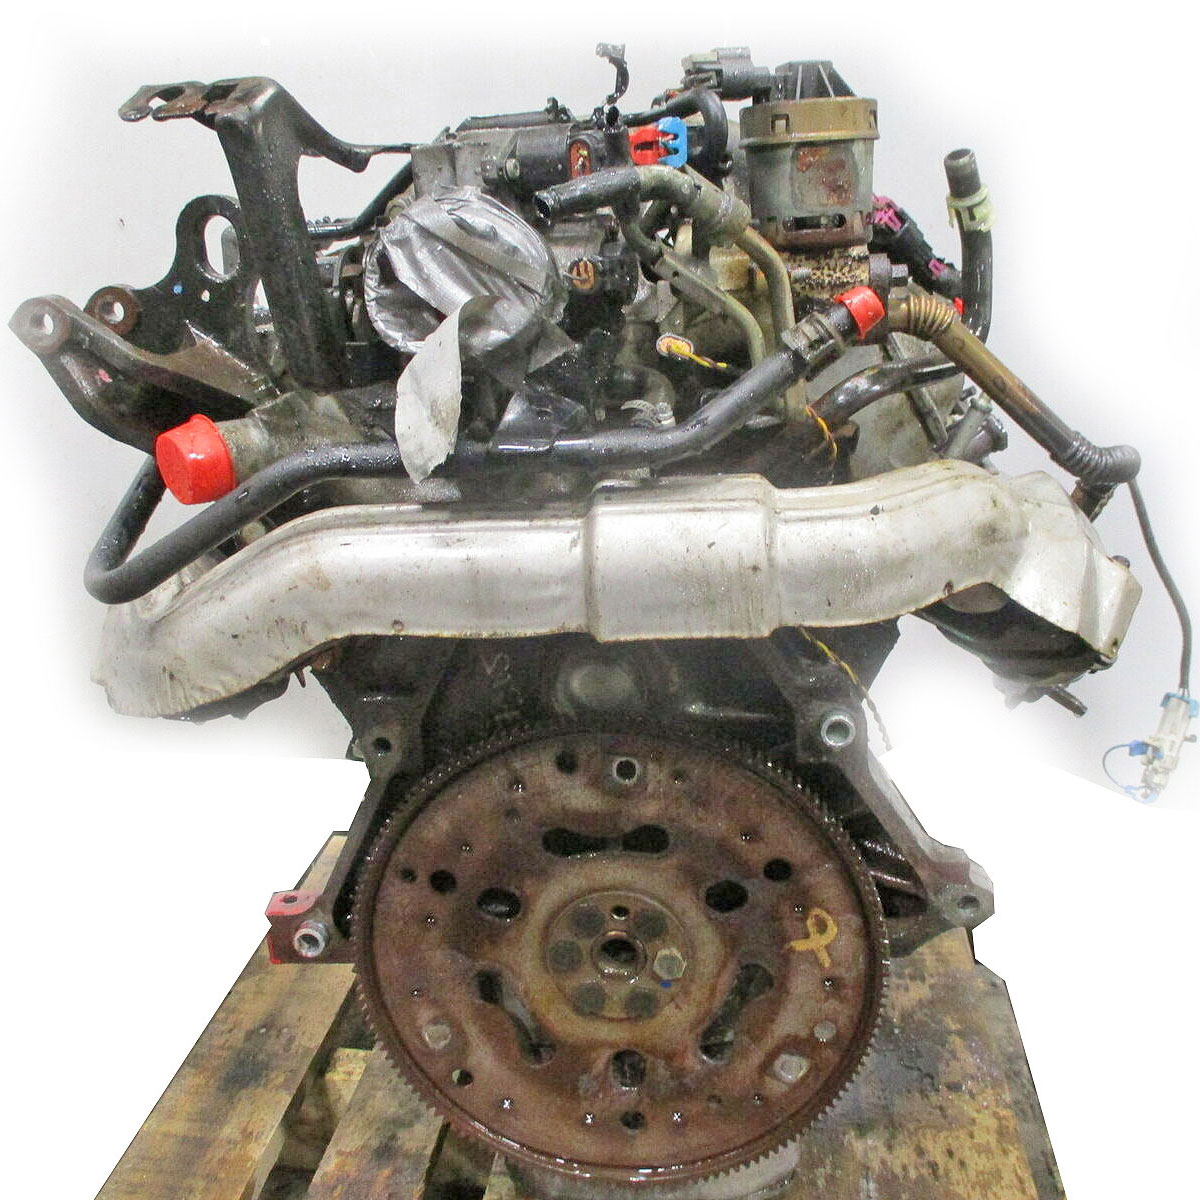
As you take things apart, be sure to organize hardware into separate Ziploc bags and mark them up with appropriate names. After you do this job 3-4 times, you'll know every one of the bolts and nuts. Use below GM 3400 SFI reference shots of a pulled engine... for reference (helped me).
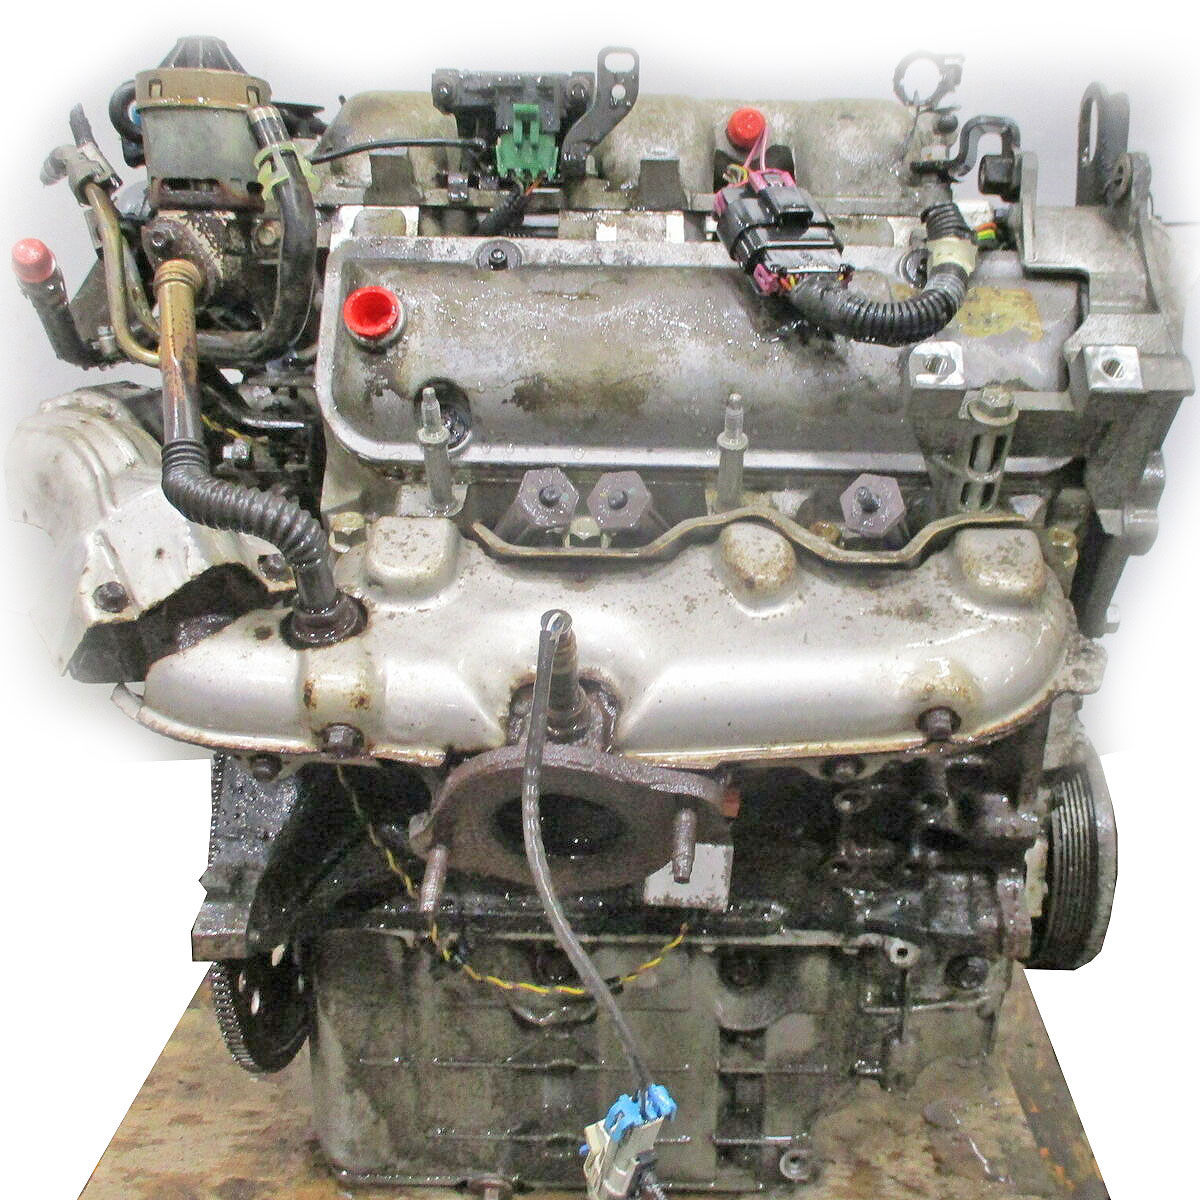
GM 3400 SFI engine main electrical harness and sensors
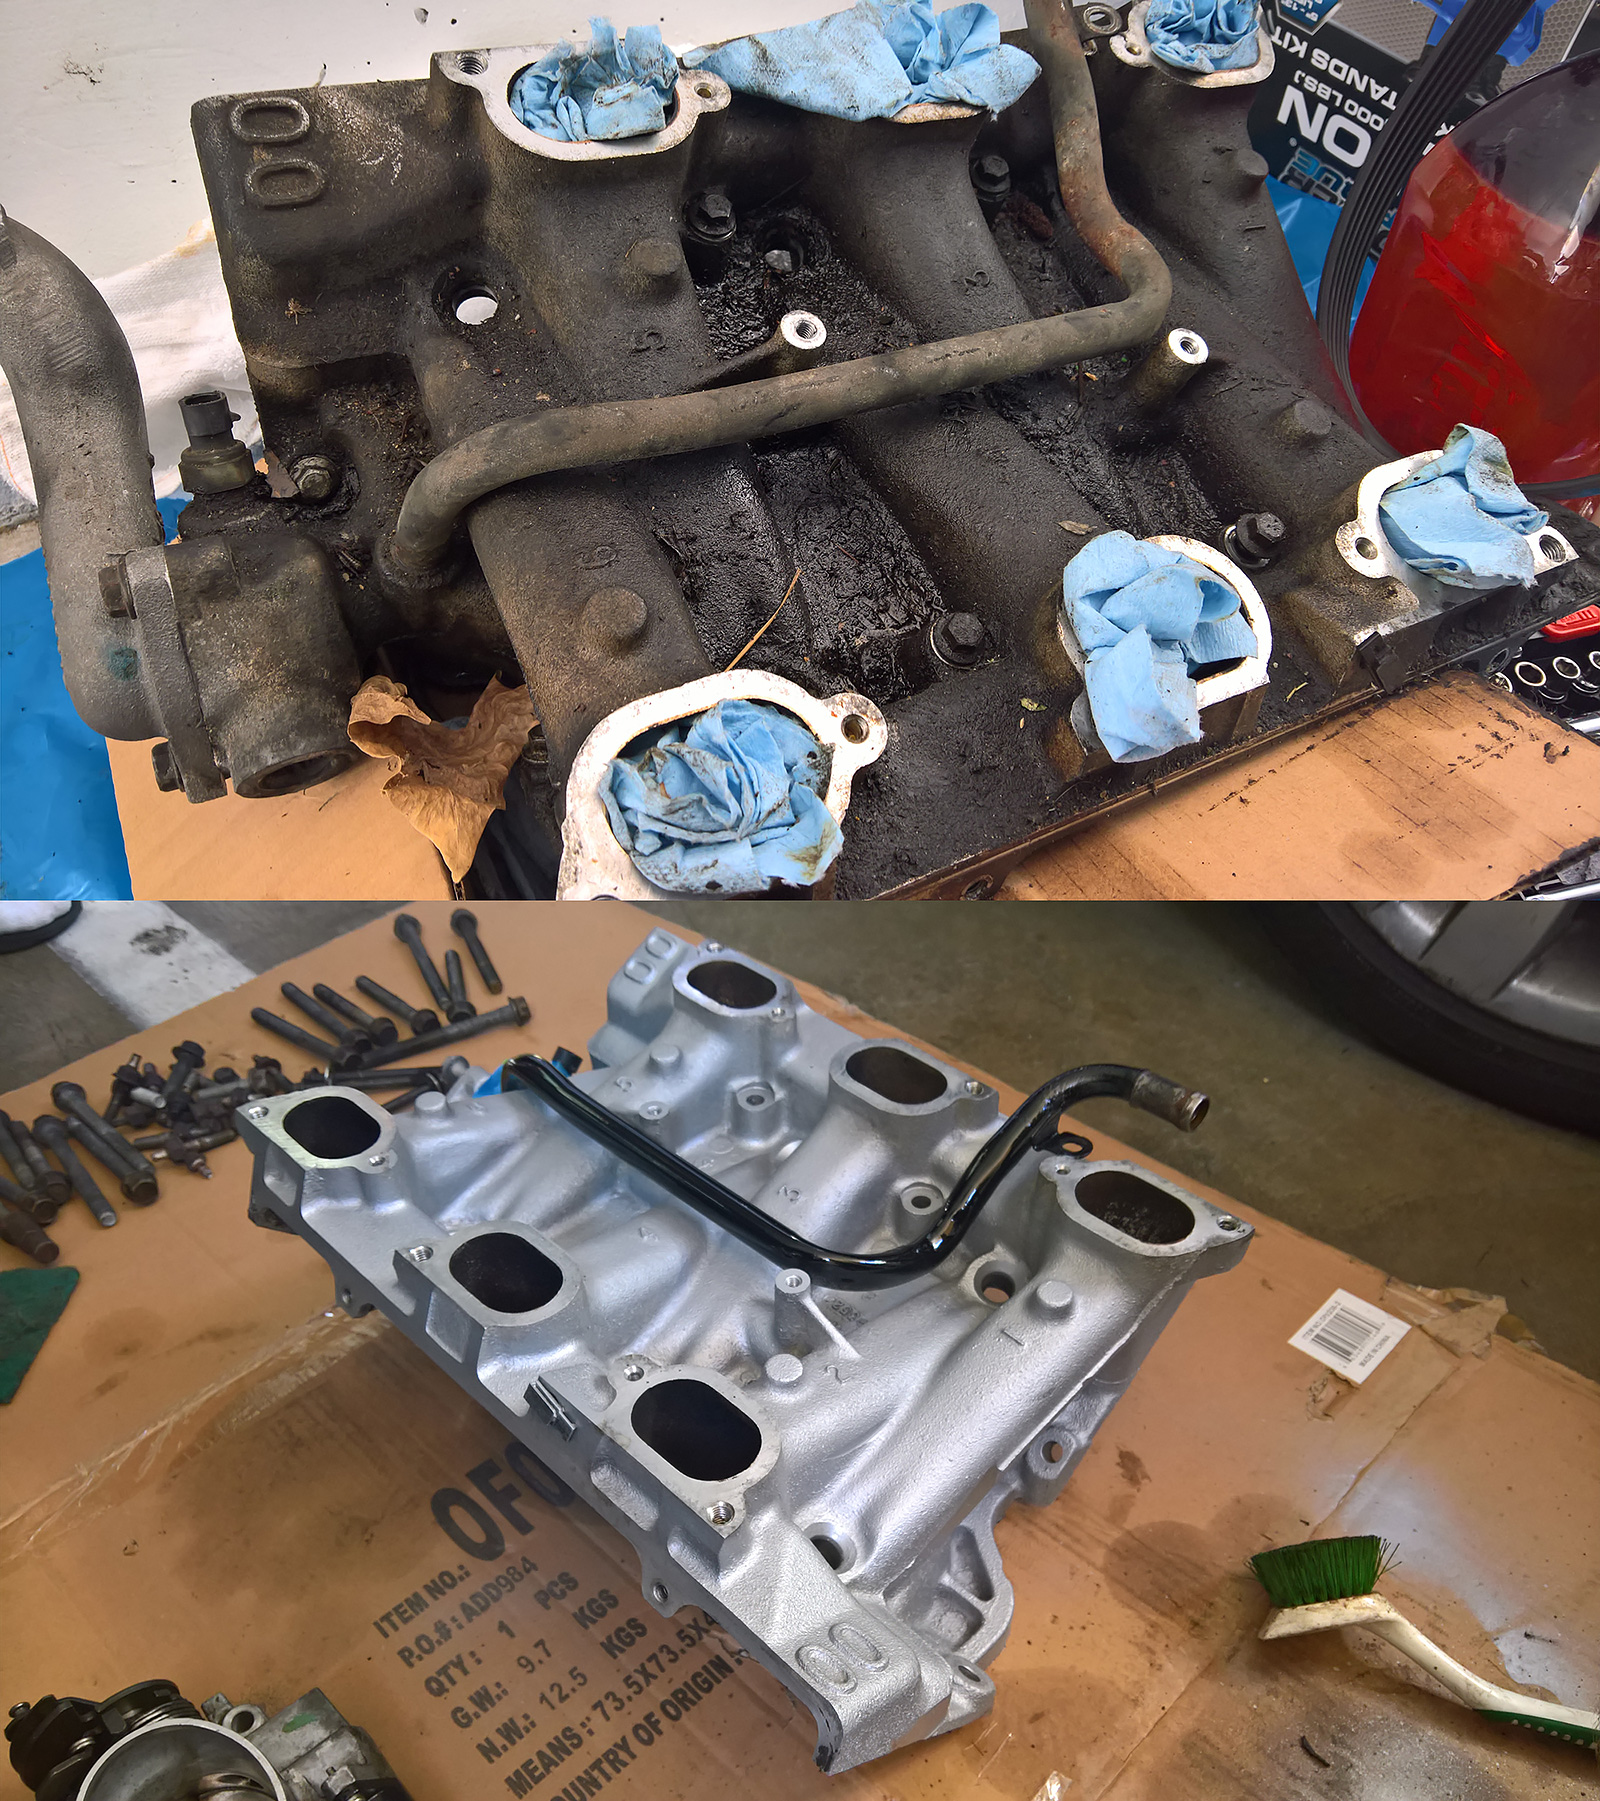
This photo of intake manifold sums up the state in which the engine was. I washed it, cleaned it with a brush in hard-to-reach areas, and painted it using high-heat paints. I chose to stick to 'factory look'.
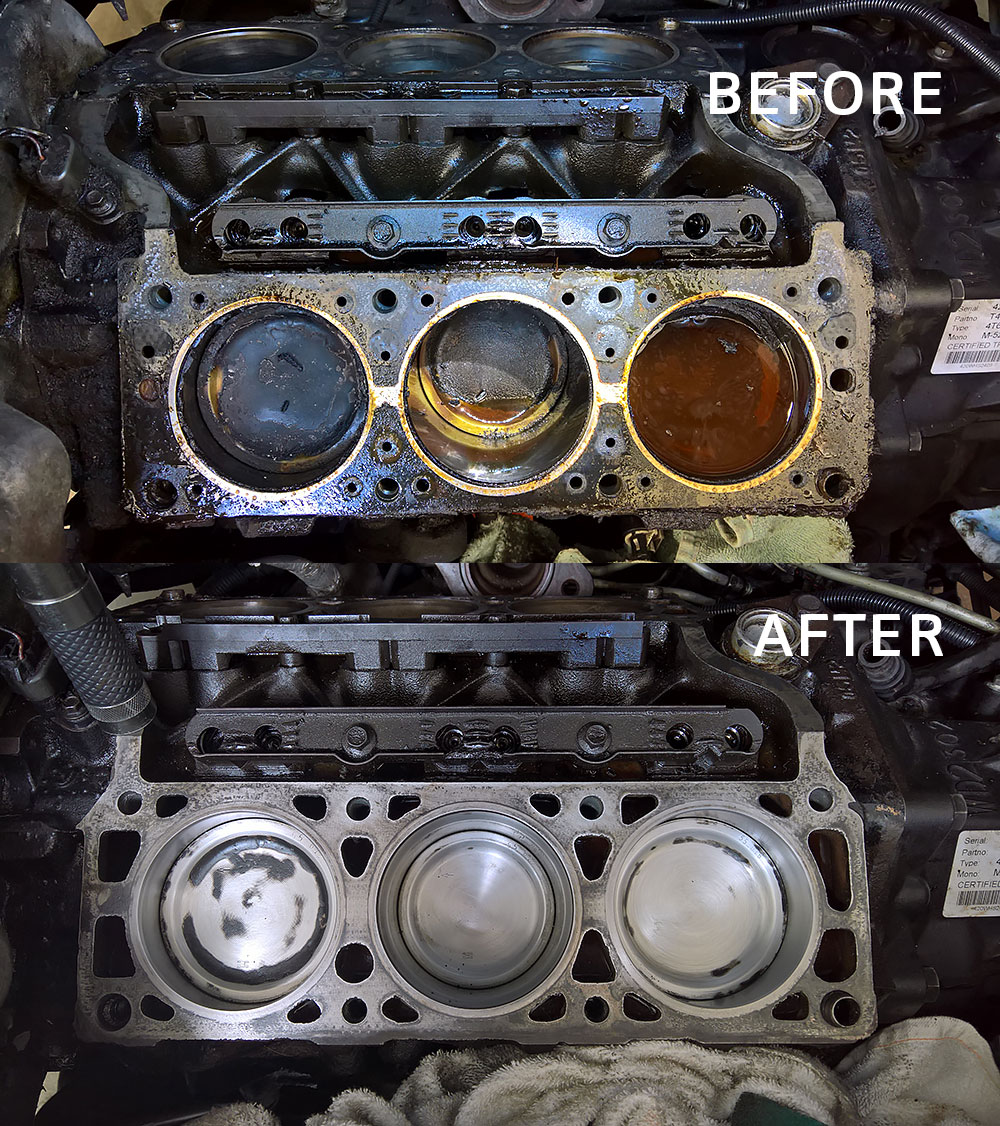
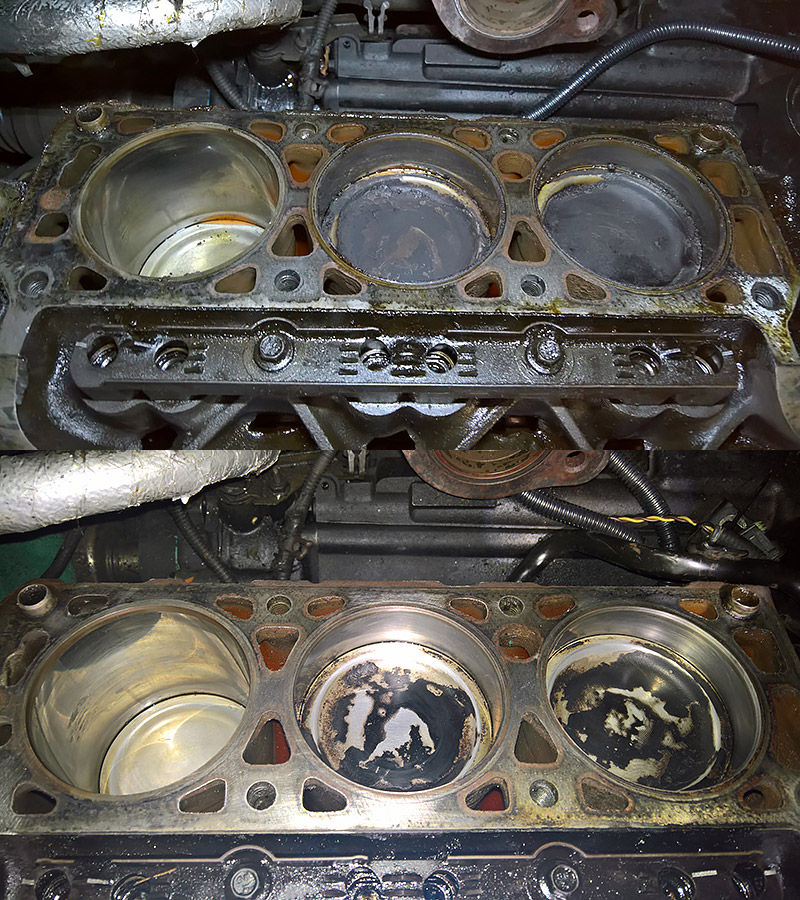
While cleaning the cylinders/block, be sure not to create scratches. Use a non-metal dish scrub and a degreaser.
Fuel pump replacement procedure:
- Drive until tank is empty.
- Use ramps/jack(s) to elevate rear end.
- Disconnect negative terminal (8 mm).
- Open gas cap to relieve pressure.
- Disconnect filler hose from tank (6mm).
- Disconnect fuel filter line from tank (use towel and tray to prevent gas leakage).*
- Remove 3 tank strap bolts (15mm; rear two require long socket and extension). Swing straps down without disconnecting them.
- Lower tank very gently.
- Disconnect remaining connections (gas/sensors). There is no need to disconnect one of the long electrical harnesses if you are doing the job on the ground, as it gives you enough length to pull tank out.
- Move tank off to a clean area with adequate room for work/inspection.
- Thoroughly wash around fuel pump to remove any dirt.
- Replace pump.
- Reconnect pump.
- Strap and secure the tank. Straps are flexible enough to be bent a little in order to get them to wrap around tank/between drive shaft and heat shield (AWD).
- Reconnect filler hose.
- Remove engine to fuel filter gas line (use towel).
- Replace fuel filter (mind direction/position). Transfer plastic clips from old one.
- Reconnect fuel lines.
- Reconnect negative terminal.
- Turn ignition on and let pump engage. Wait at least 5 seconds before starting.
*Ideally you properly relieve pressure with a special tool by connecting to a port in the fuel rail.
Oil filter coolant hose replacement:
While it is easy to remove the coolant hose connecting your oil filter to the block (by pulling with needle-nose pliers, it might not be so easy to install the hose back. Here's how you do it:
Removal
- Remove plastic lip using 10mm socket (×4 screws). Most of the work will be done under the engine bay.
- Drain coolant. Use radiator plug at the bottom of radiator (driver side). Position a drain pan under radiator.
- Move the drain pan under oil filter.
- Move clamps off of the hose using pliers.
- Remove the old hose using pliers and let the remaining coolant drain.
Installation
- Make sure new hose is the same length as previous.
- Install clamps onto both metal outlets/pipe ends.
- Bend the new hose directly in half.
- Carefully install both ends of the hose onto each one of the pipe outlets.
- Wiggle the hose into position by turning it from side to side.
- Reinstall the clamps. I recommend upgrading to adjustable clamps. Use a small ratchet without extensions and a 7mm socket.
- Fill coolant tank all the way.
- Fill radiator all the way.
- Loosen coolant bleeder valve to eliminate air from system.
- Turn on front and rear interior heaters to the max. This will allow heater core to cycle coolant through the system more effectively.
- Turn vehicle on and let it idle while carefully watching the engine temperature - not allowing the engine to overheat.
- Watch for bubbles coming out of the bleeder valve and keep toping off your coolant tank.
- Tighten your bleeder valve after all the air left the system.
- Once confirmed that engine doesn't overheat, go for a short drive. Keep a close eye on the temperature gauge.
- Park the vehicle after a 5-10 minute drive and check the overflow tank; add coolant if necessary.
Lip upgrade
Upcoming lip design I'm working on will attach to factory bumper with very little work involved. Limited edition run; get in touch to reserve yours.
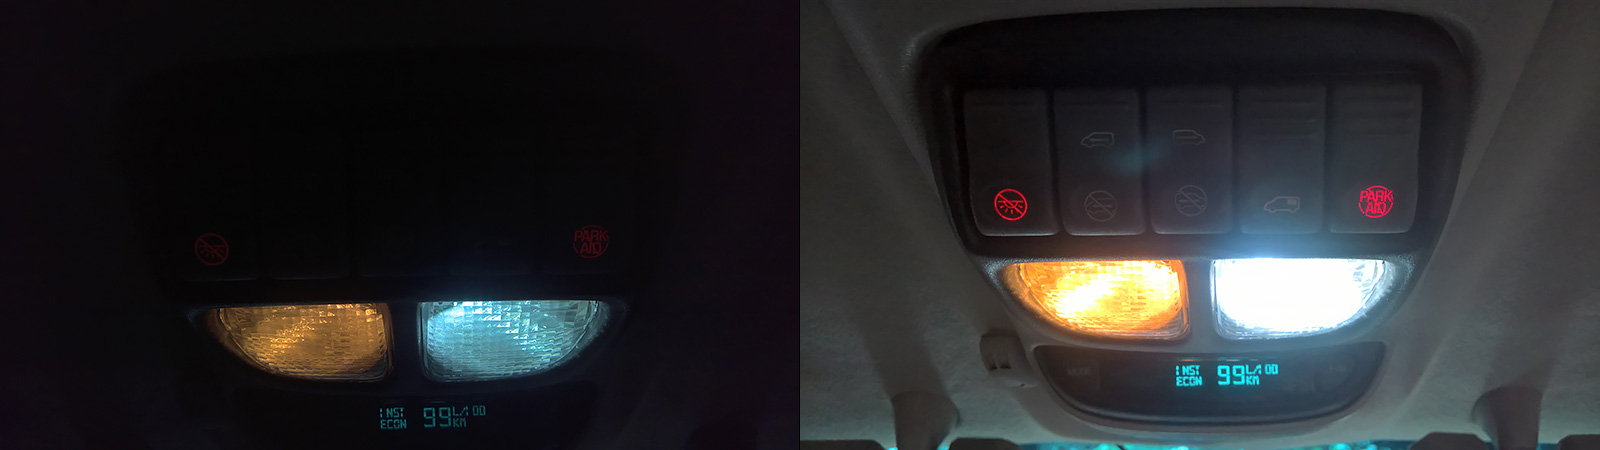
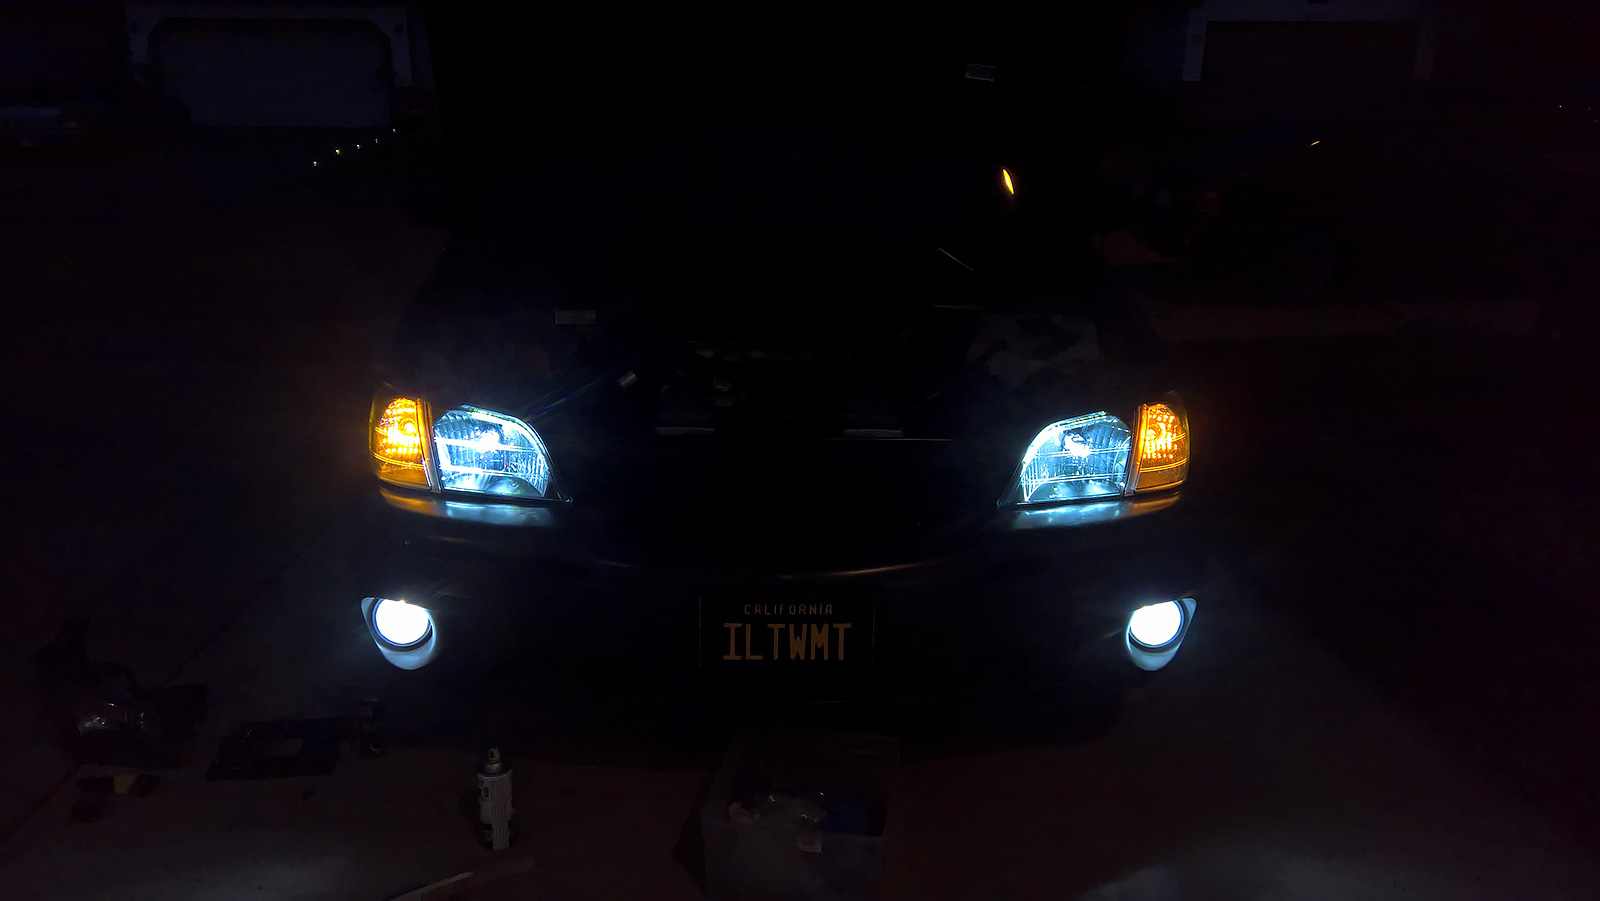
Lights
Convert your lights to LED:
Fog lights
Signals
Reverse
Interior
Brake
Headlights
Resistors (to eliminate hyper-flash turning signals)
Hypermiling
- Current record: 1255km (~780mi) on a single tank from Arizona to California (without cruise control).
- Light foot
- ~41PSI
- 55-75 MPH
- No top-off
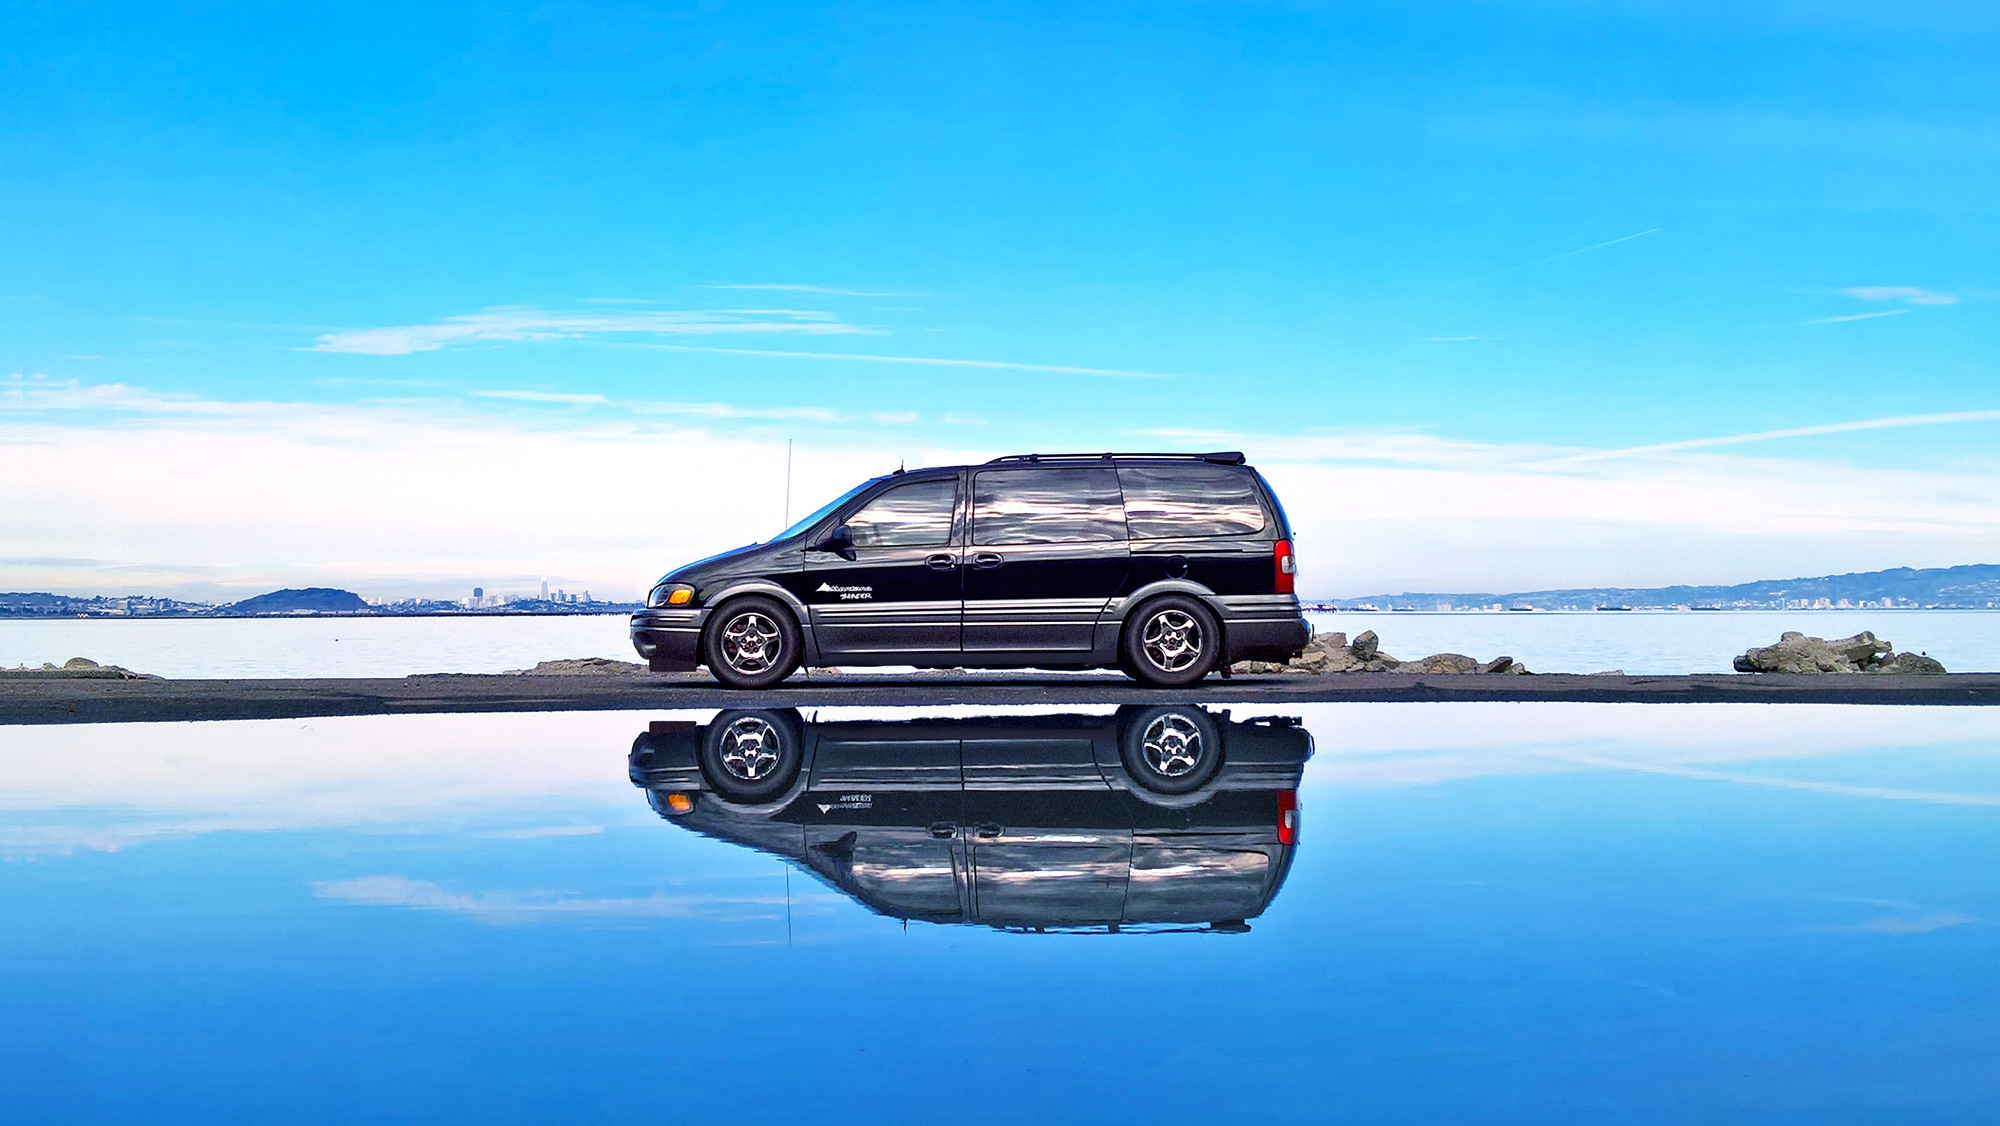
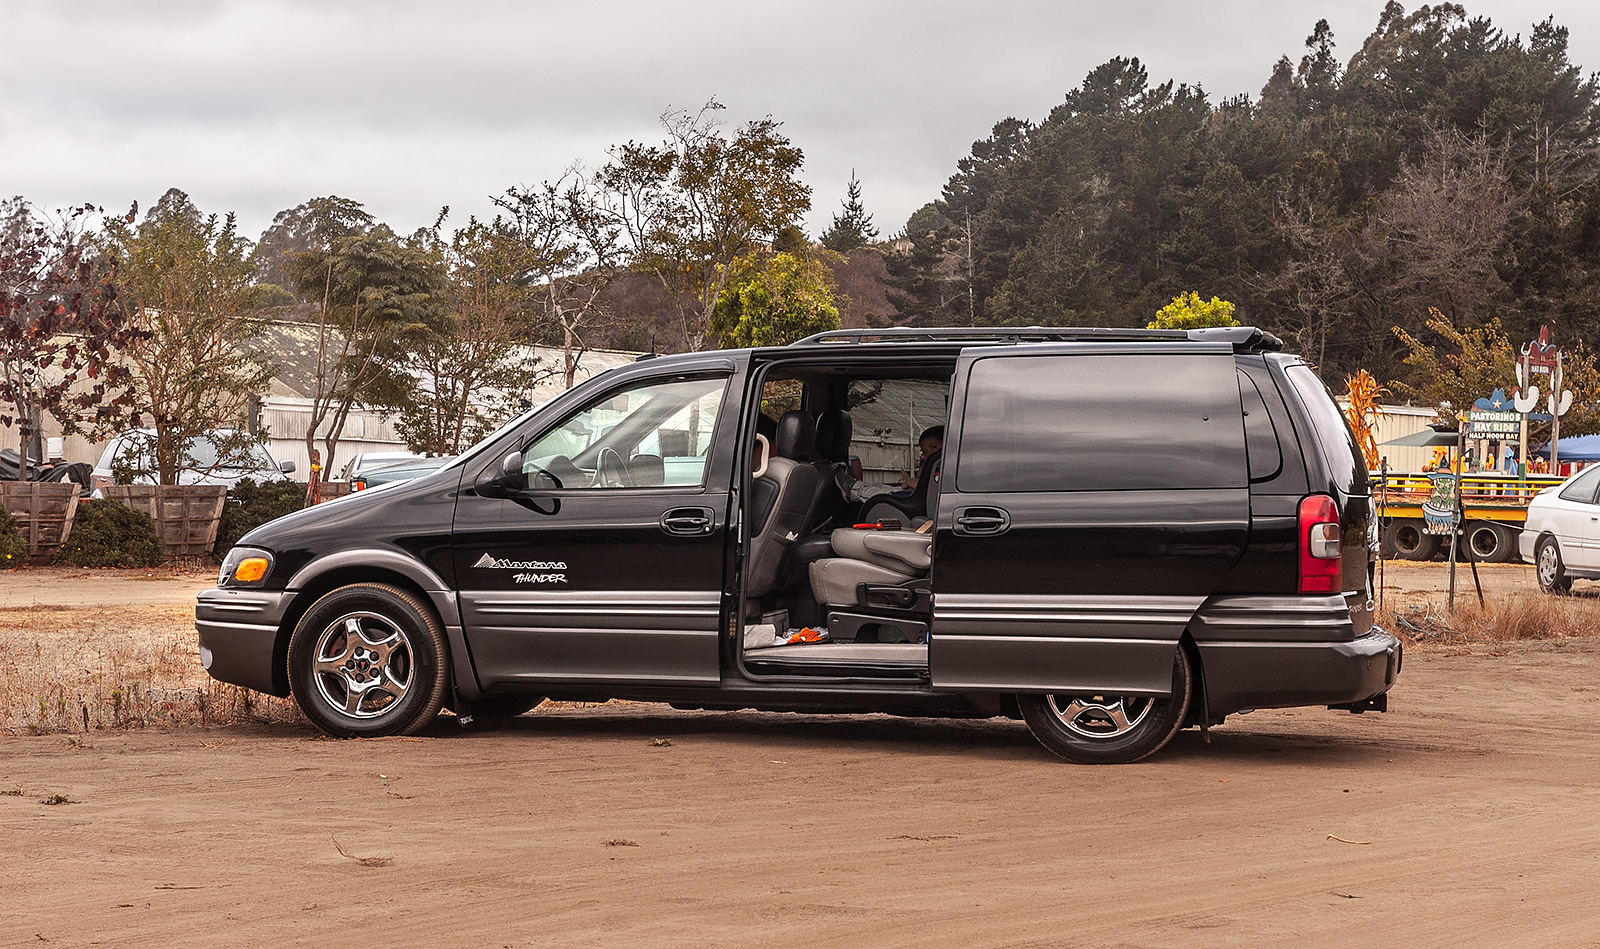
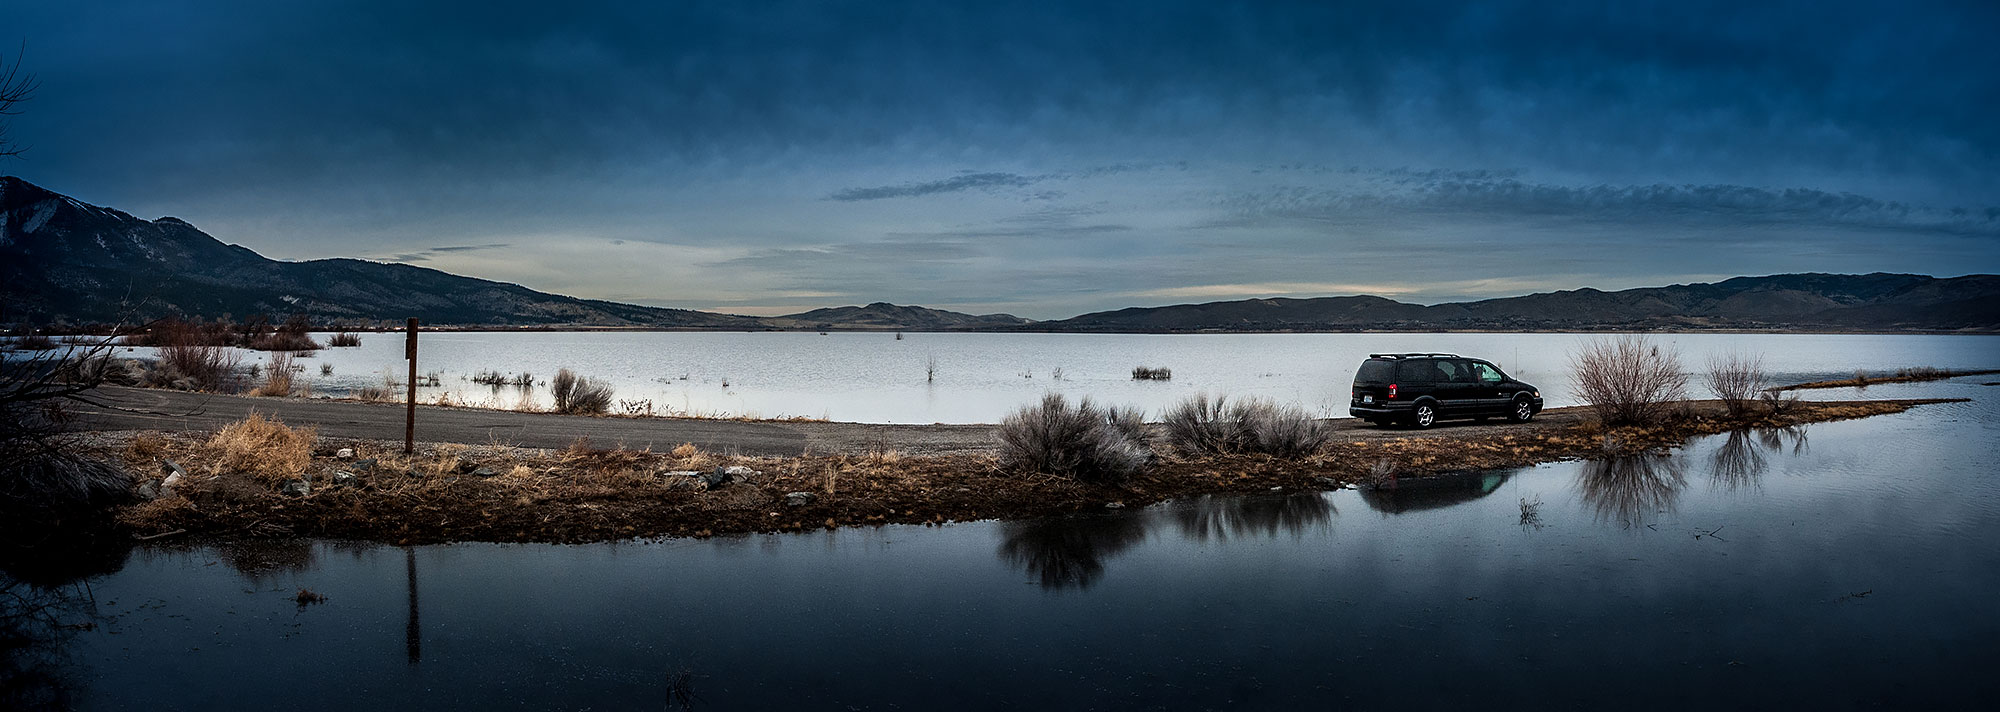
About 2003 Pontiac Montana Thunder
I never got into SUVs – they always felt too bulky, while not being overly roomy, so being a father of three, I prefer the #vankulture scene.
This is the most highly optioned minivan of its time:
- fully independent (aluminum arms) sports suspension featuring VersaTrack AWD,
- on-board computer (outside temp, instant and avg. fuel consumption, distance/fuel estimation & tracking, compass)
- special two-tone black/gray leather interior,
- heated front seats,
- power sliding doors,
- backup sensor,
- towing package,
- roof spoiler,
- On-Star,
- 6-disc entertainment system (CD/DVD) with wireless headphones,
- rear climate control (AC/heat),
- air compressor + self-adjustable rear air suspension,
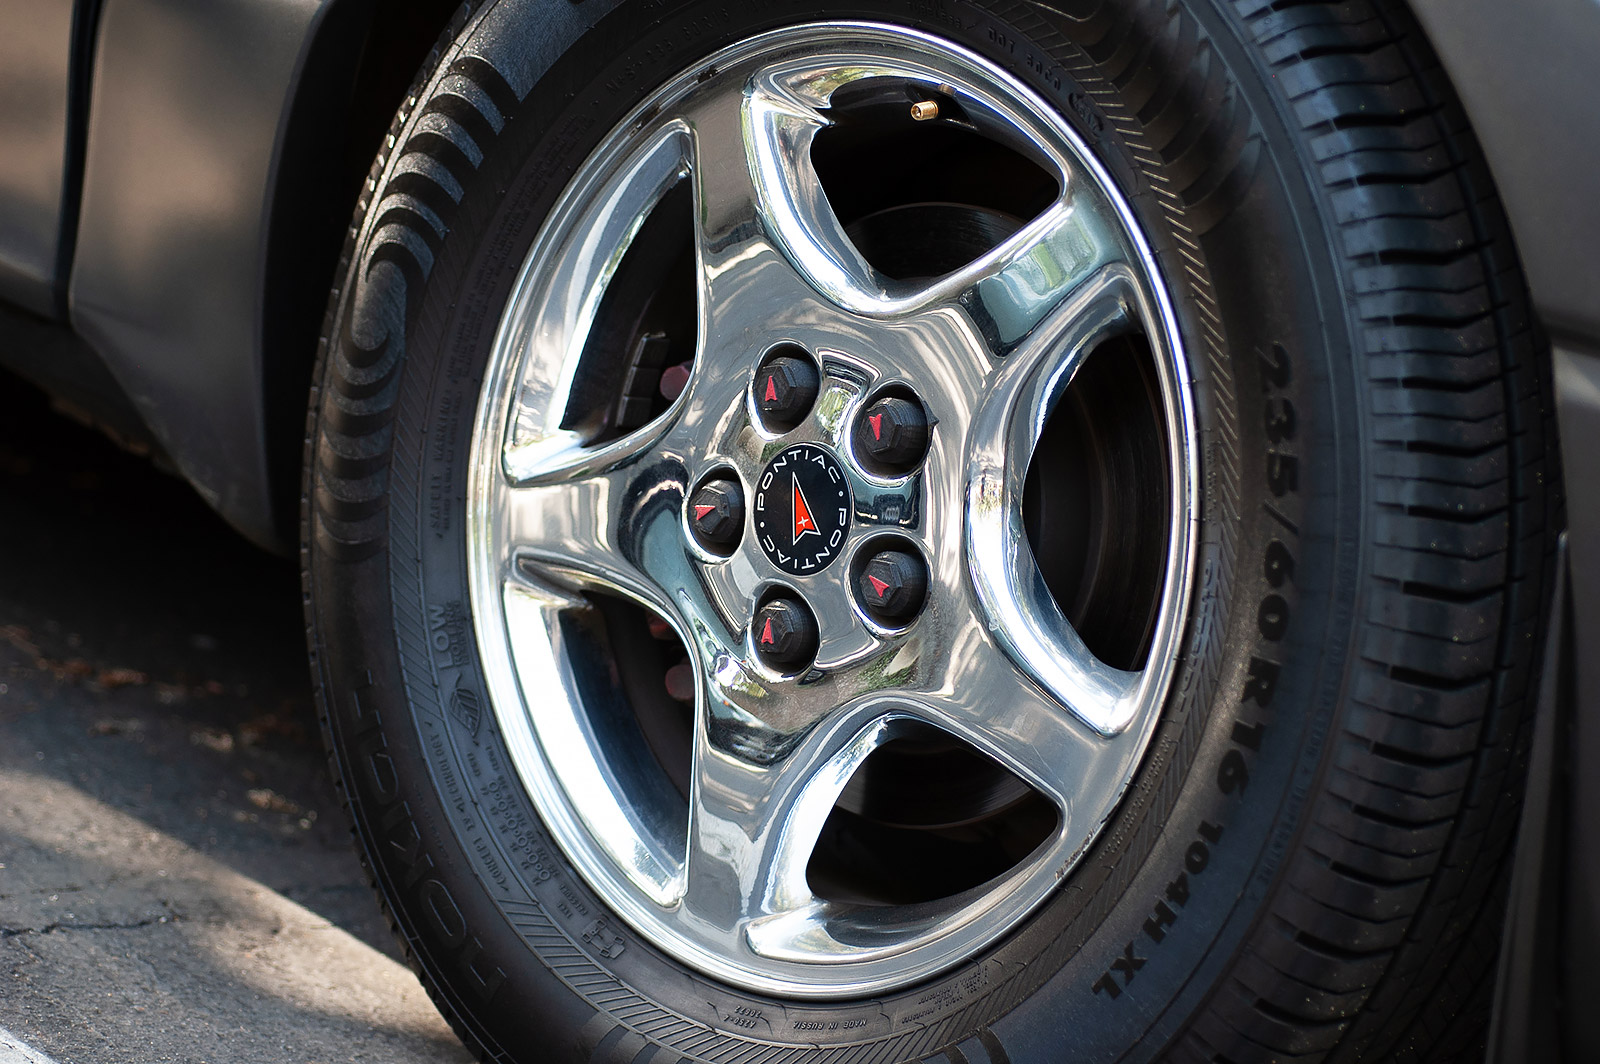
- custom chrome 5-spoke wheels (235/60/16),
- 4-wheel disc brakes (others had drums in the back),
- ~110L (~28G) fuel tank.
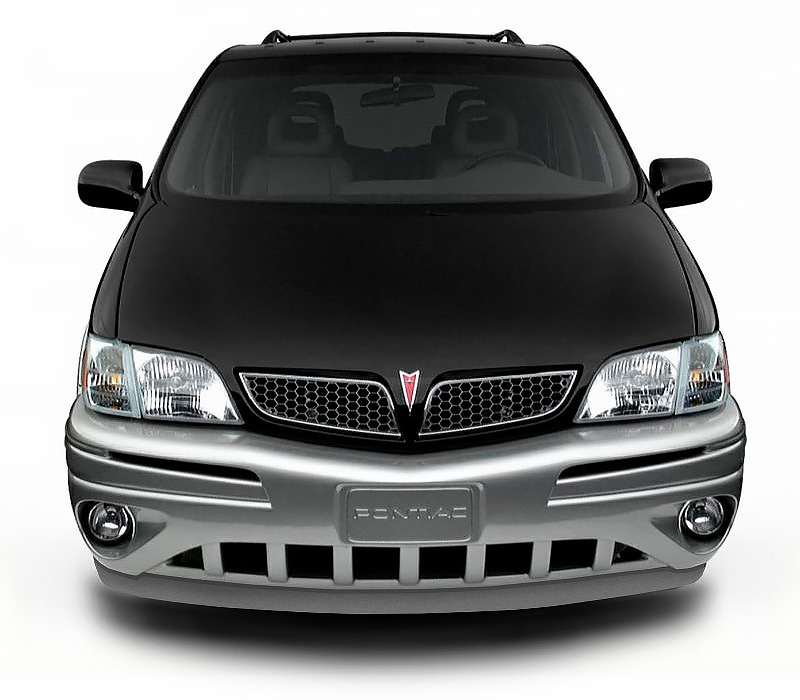
Thunder was a rare package, and as a result very few vehicles were produced – especially with this color combination, which makes this one of the most rare vans on the road today.
In 2003 there were 39,588 Pontiac Montanas made:
- Only 2,770 were AWD.
- Only 275 were black.
- And ONLY 216 were Thunder.


GM U-Body Minivans
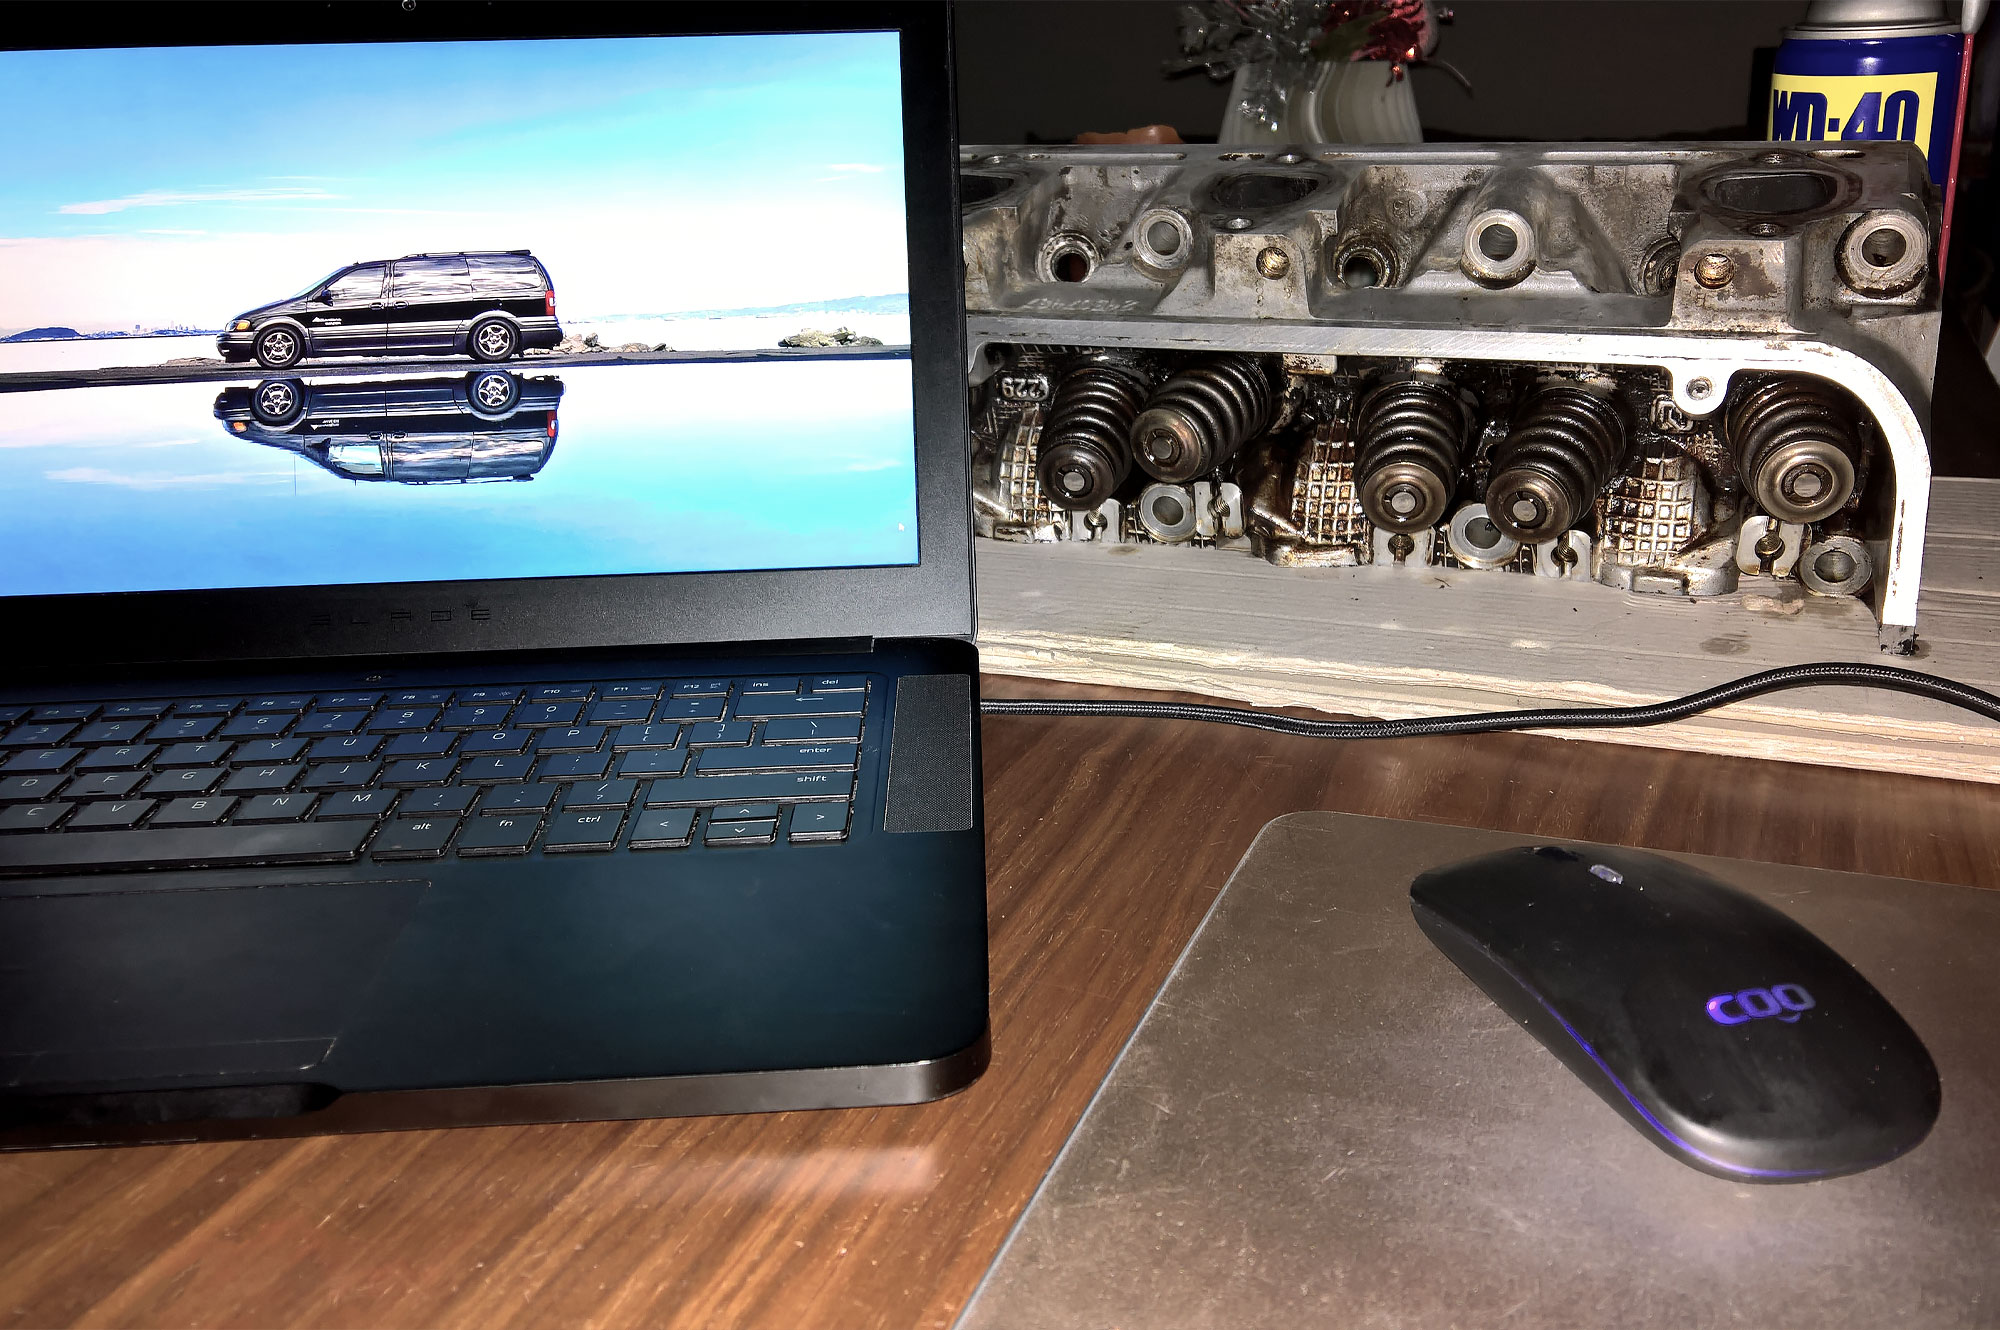
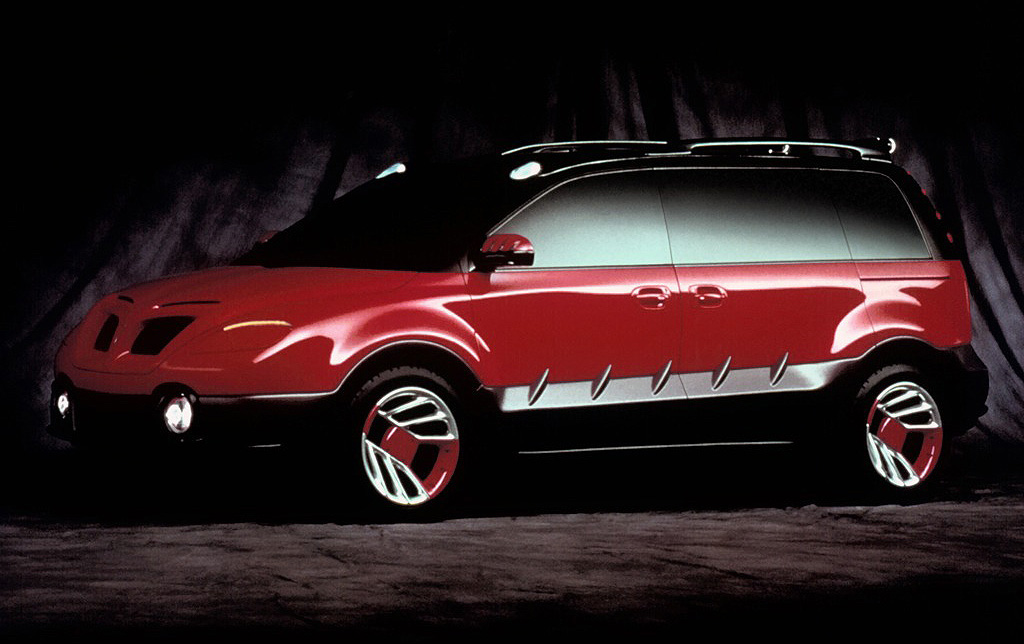
Above: 1998 Pontiac Montana Thunder concept van.
Enjoyed what you saw? Stay updated by following me.